Recipe: Stuffed Chicken
Last Friday when San Francisco was experiencing a huge storm and Father Privett closed campus, I sat on my couch and watched hours of cooking shows on PBS. The segment that intrigued me most was Jacques Pepin deboning a raw chicken and then stuffing it. "I can do that!" I thought to myself. So I set out to do it.You start with a whole chicken, and make a slice down its back. Cut into the front of the breast to remove the wishbone, and then start peeling the meat down the front of the carcass. You can use a knife here and there, but mostly the meat will just come away by pulling with brute force.
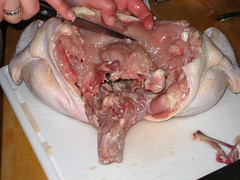
After you have the front and back of the main carcass removed, you need to take the bones out of the wings and legs. To do this, work the meat away from the bone using a knife and your hands, slowly turning the legs and wings inside out in the process.

After enough slicing the leg bones will be free. Look at how the joints still work!
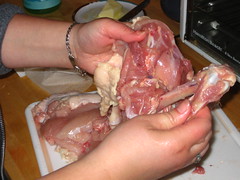
Eventually, after all the work, the chicken will be free of bones. It still looks like a chicken, just a very flat chicken.
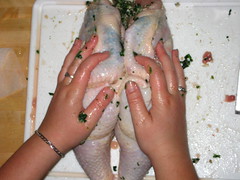
Now that the chicken is deboned, you can start stuffing the bird. My stuffing consisted of one package of chopped frozen spinach (thawed and squeezed dry), one carton of mushrooms (tops only, chopped fine), two cloves of garlic and one onion (both of which were also chopped fine), and some goat cheese. Fill all of the empty cavities in the legs and wings with spinachy goodness.
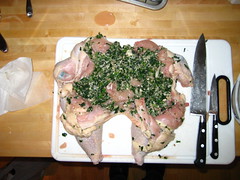
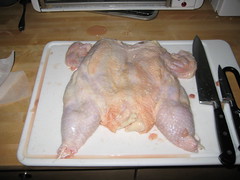
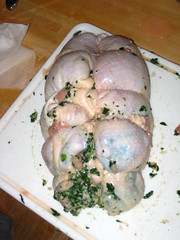
Reform the chicken into a chicken shape, taking care to wrap all of the stuffing so it doesn't spill out.
Then tie the chicken with kitchen twine or some other kind of oven-safe thread material (white embroidery thread worked well for me).
Pop it in a pan and roast it in a 350 degree oven until cooked through. Mine took about an hour and a half.
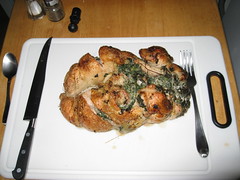
Slice

Eat!
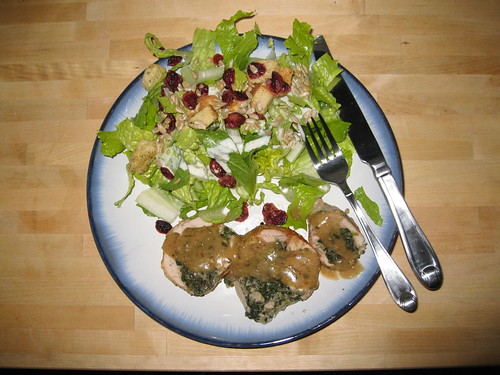
See my flickr page for more photos, as well as for how to make the gravy.
Labels: chicken, food, recipes
posted by Sara at
10:09 AM
![]()
![]()


2 Comments:
Sweet! Good job. Looks tasty. Want to come cook for me? I have many pennies...
It was super tasty! It also took about 2 hours to make, so you better have a lot of pennies.
Post a Comment
Subscribe to Post Comments [Atom]
<< Home